Adding snap fit joints to your 3D printed designs can make products easier to assemble. Find out how to design them in this comprehensive article.
< Back to articles
Snap fit joints are a way of connecting two different components, without using fasteners or permanently bonding the pieces together. They rely on one or more of the pieces deflecting, or bending a little, in order to secure the parts. There are a few different types of snap fit joints, but they are all designed to be easily assembled by hand. A snap fit joint can either be permanent once assembled, or else designed for easy disassembly, and they are named for the 'snap' sound that they make when fitting together!
Snap fits are made up of two mating features, with one on each component to be assembled. One feature generally looks like a small protrusion, which can deflect when pushed into its counterpart. The other is generally a small recess or groove, into which the protrusion can be located. The joint is designed so that neither part is under stress once fully connected.
The most common types of snap fit joints, as explained in more detail below, are annular snap joints and cantilever snap fits, which account for the majority of designs in practical use.
Snap fit joints have many advantages in 3D printed components. The most important advantages are related to ease of assembly and disassembly, but there are other benefits and drawbacks to consider.
A snap fit assembly means that fewer fasteners are required. This reduces packaging weight, and means that no tools are needed. This will result in a more cost-effective design. When snap fit design is done well, products can be taken apart and reassembled in a matter of seconds, which is crucial for items like casings, remote controls, or even pen caps.

End users may also see a snap fit as a sign of a professional consumer product, rather than a prototype or heavy machinery design.
There are drawbacks however. Snap fit joints take longer to design, and are less forgiving to 3D print than a regular bolted or bonded connection, as very small design details have a big effect. Often small changes are needed to ensure a perfect fit with proper tolerance, and printing snap fit joints can be tricky, especially when using FDM 3D printing.
Fatigue failure is often a problem with more brittle materials, or when the part is improperly oriented on the print bed (so that the interlayer interfaces are highly stressed). To avoid this when printing snap fit parts, it is important to use durable materials, ensure the bending/deflection plane is parallel to the print bed, and avoid sharp corners or stress raisers in your design.
If you find that snap-fit joints are too difficult to design for your application, you may find that another method would be more suitable. You can also bolt, glue and screw joints together easily, or even use more exotic techniques such as ultrasonic welding. A simple tongue and groove joint can also be effective - sometimes looking to classic woodworking techniques can be surprisingly inspiring.
It is useful to understand the features of a theoretically ideal snap-fit, to ensure that you are creating the best possible component you can when designing. Ideal snap fits will have many of these traits:
If too much force is required to push snap fit joints into place, it is likely that the interlocking features will be subject to too much stress. This will reduce the number of cycles to failure. The user may also struggle to operate the device, which is bad from a UX/UI perspective, as well as being potentially exclusionary to certain people.
A low force is also important if human beings are to assemble your product on a production line. Although a person may find it easy to assemble a few products without undue strain, hundreds or thousands or products per day may be a different story - and a high force requirement could well lead to fatigue for workers. This is detrimental to their health, and will result in an increased assembly time, and therefore production time, for you and your product.
Although the parts should be able to push together without too much force, once they are are in, the joint should be snug and secure, and not easily shake or rattle loose. Finding the ideal fit usually involves delicately adjusting the geometry and clearances between the interlocking parts using CAD software, and iterating repeatedly. Each time you change the design, run a quick test print to discover the effect, and the perfect compromise will quickly be reached.
The fatigue limit of a material is a limit of mechanical stress, below which the part can be repeatedly subjected without fracturing. This is usually assumed to be under a cyclic loading condition, where the force creating the stress oscillates. This is the type of stress condition created by repeatedly assembling and disassembling a snap-fit joint.
A properly designed joint should never experience stress at a level above its fatigue limit, which means the number of cycles (assembly and disassembly) it can withstand should be effectively infinite, in practical terms.

Sharp notches, corners, edges and transitions decrease the effective fatigue resistance of a given design however, and will often cause it to fail under cyclic loading, by increasing the maximum stress experienced by the part, and therefore putting it above the fatigue limit.
When 3D printing snap fit joints, all of the normal rules and best practices of design for 3D printing still apply. This can make some designs that are seen as common for injection moulding, very difficult to manufacture using additive manufacturing techniques. Conversely, many seemingly unusual designs can be actualised with relative ease.
The main factors to consider can be found on other resource pages, such as this Design for FDM 3D Printing guide, this Design for SLA 3D Printing guide and this Design for SLS 3D Printing guide.
There are seven main types of additive manufacturing, but the majority of parts are made using one of three broad categories - Filaments, Resins, and Powders. These correspond to FDM 3D printing, SLA 3D printing, and SLS 3D printing respectively, but many other types of AM fall into the categories also.
Filament 3D printing is highly anisotropic, which is to say that material properties are very different in the build direction, or z-direction. Generally speaking, filament 3D printing isn't able to reliably create fine features either. These factors mean that filament 3D printed parts with snap fit joints will be difficult to manufacture reliably.
Resin 3D printing processes are mostly isotropic. They can also capture very fine detail, and so snap fits made using these technologies will survive repeated use much better, and be more effective to 3D print.
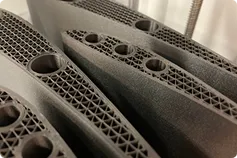
Possibly the ideal process and materials are powder-based however. SLS Nylon is a very durable and forgiving material, that is perfect for 3D printed snap fits of all kinds. The design freedom of SLS 3D printing is also very useful, as almost any shape can be made without the need for support structures.
The various types of snap fits used in 3D printing can be categorised by their shape, and the way that they deform while engaging.
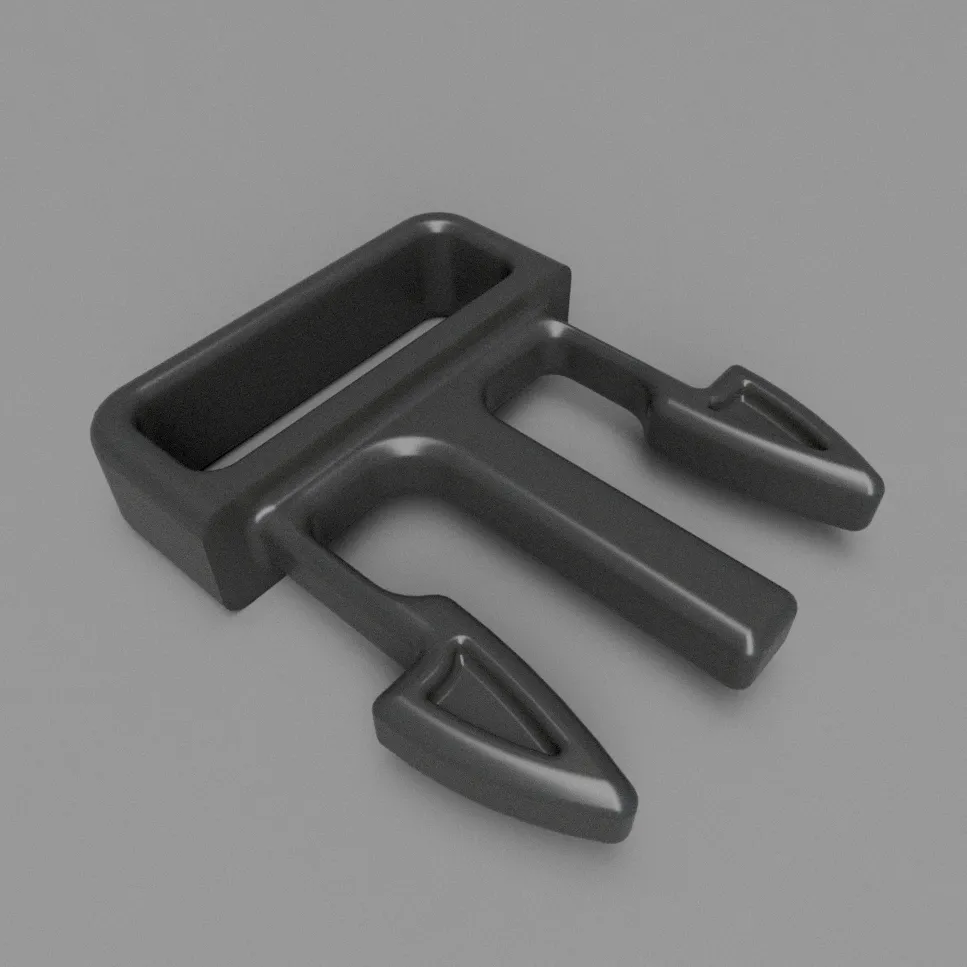
Cantilever snap fit joints involve a deflecting 'arm' being subject to a simple, cantilever bending motion. The arm 'points' in the direction of assembly, and the joining process is simple and intuitive.
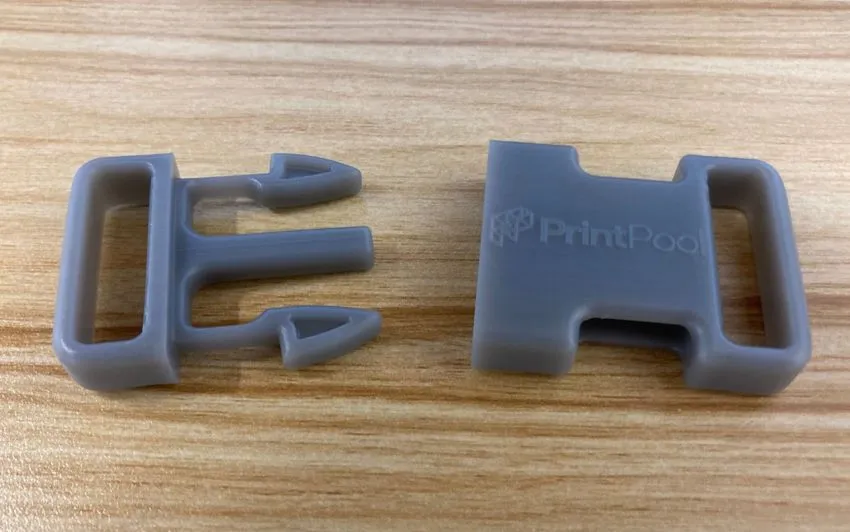
This type of snap fit is certainly the most commonly used, and is often seen on electronics casings, buckles, and other household items. Generally cantilever snap fits are the easiest to design, but will still require iteration to perfect. The interlocking connection is strong in cantilever snap fits, and can be used in a wide variety of use-cases.
Torsional snap fit joints pivot around a central axis, and rely on the materials to deform in torsion only. They are more complex to design and manufacture using 3D printing than other joint types.
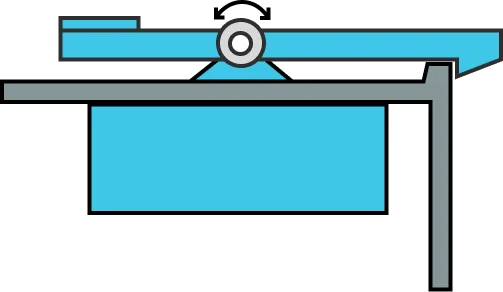
Tortional snap fit components are rarely 3D printed in their entirety, as the narrow bar required can be a difficult feature to manufacture. It is generally better to use a separate spring, or elastic materials and insert this into your design separately.
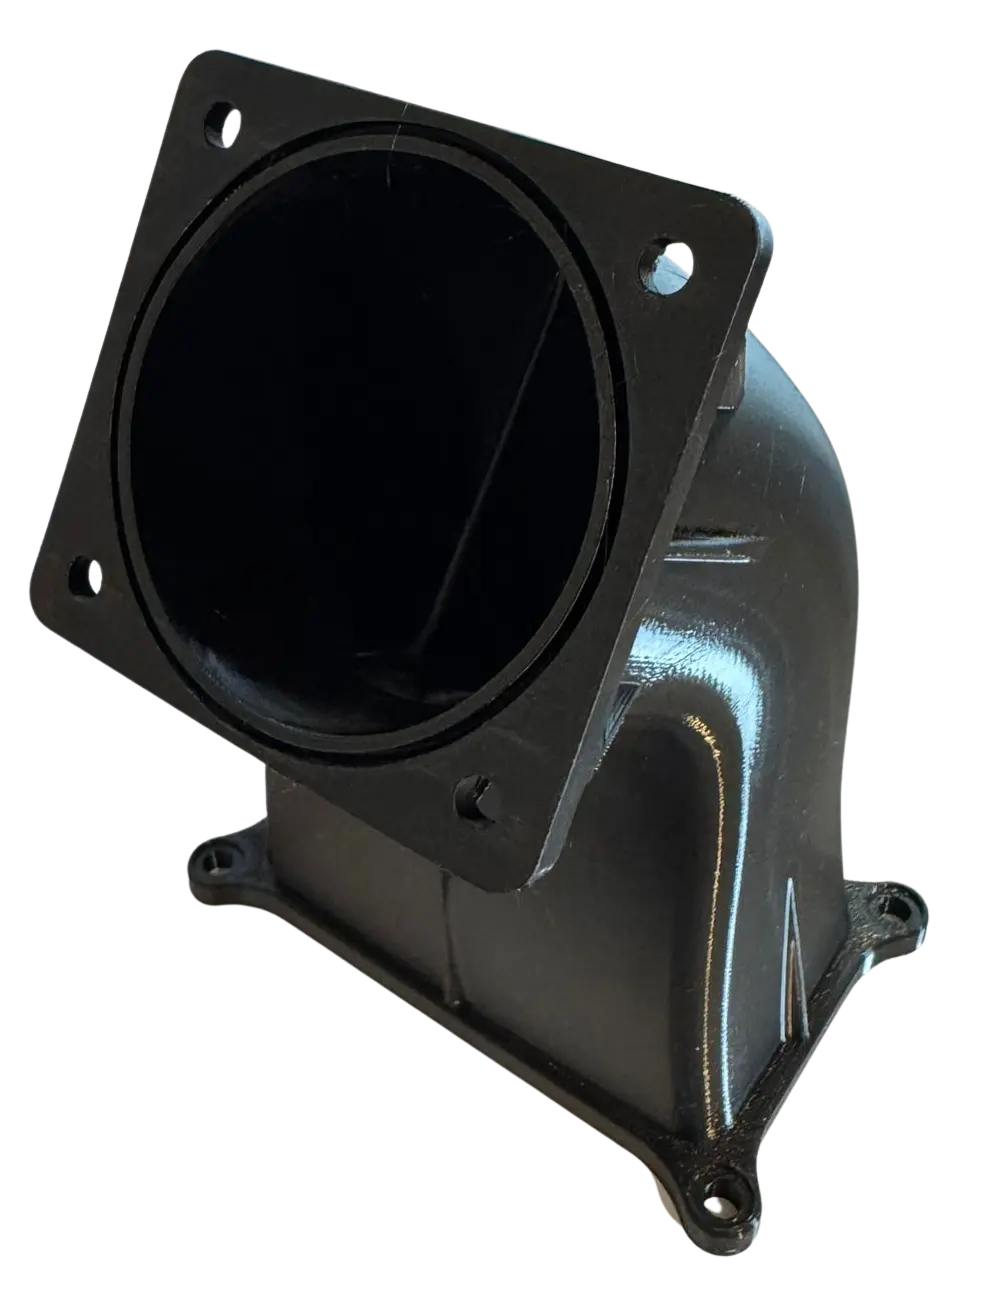
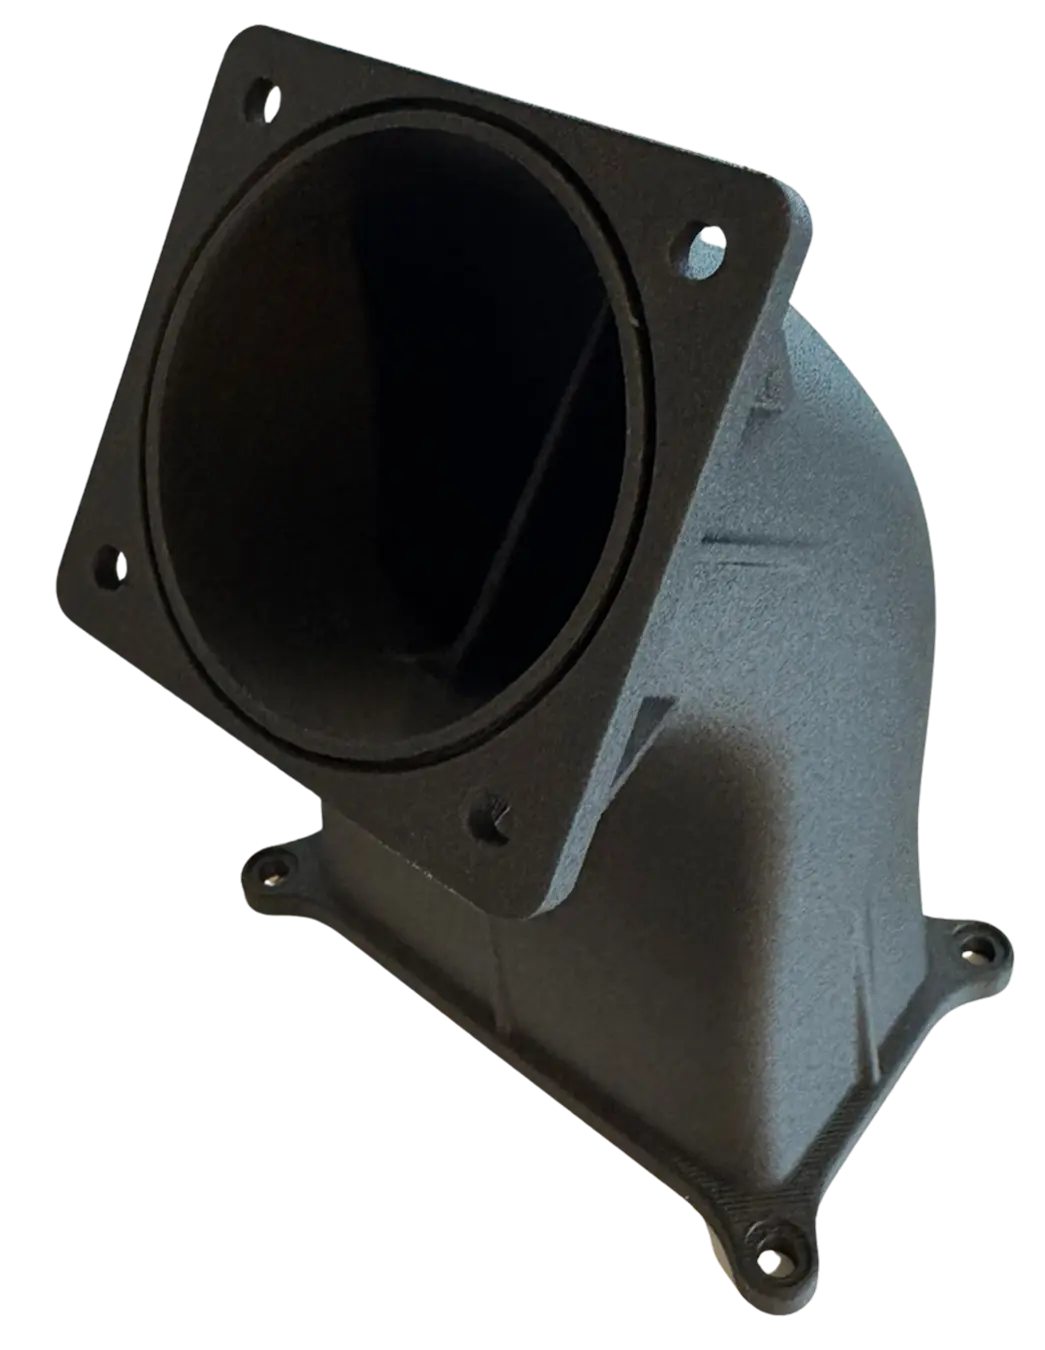
Annular snap fit joints have a continuous circle of material that is required to deform, until it snaps into a correspondingly annular mating depression.
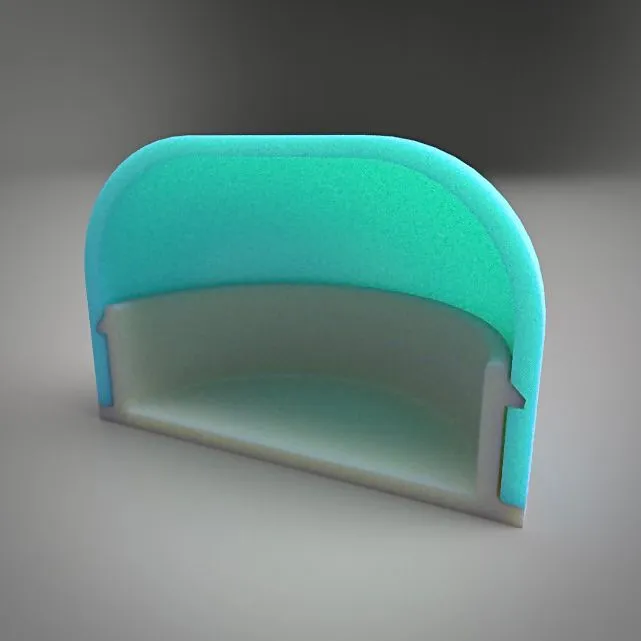
The stresses experienced by annular snap joints are often quite high, as a larger amount of material must deform, and so they are more likely to break. Certain types of annular snap fits can create a watertight seal however, which can be very useful for electronics enclosures. This works best when combined with one or more gaskets, made from flexible materials, on the inside of the connection.
3D printing snap fit joints can be challenging, so it is important that your design is carefully considered. The basic principles are similar to those used when 3D printing other plastic parts, but design limitations and material limitations need to be carefully considered when switching from injection moulding, CNC machining, or sheet metal fabrication.
A simple way to reduce the stress subjected to cantilever snap fits is to taper the arm. Starting at 100% thickness at the base, the thickness should taper to around 50% at the end. This also makes the joints more suitable for injection moulding.
Keep an eye on the minimum feature size, and wall thicknesses, as very small features can be impossible to accurately 3D print. For more detailed information on design tolerances, check our process pages.
Sharp edges, corners and shapes in your design should be removed, smoothed, or filleted. This is because they act as stress raisers, and increase the chance of a break during use.
These features also make 3D printing joints more difficult, as the sharp change in direction required of the print head in FDM 3D printing will cause vibration and reduce accuracy. A smooth cross section means a smooth path for the printhead, and therefore a better final part.
For all snap fit types, it is generally wise to ensure that one mating component is rigid, and doesn't significantly deform, while the other is compliant, to create the joint. This makes the design process easier, and most of the calculations that can be performed to estimate the mating force use this assumption.
3D printing is great for quick iterations, and if your 3D printed snap fit isn't quite fitting together properly, its easier to troubleshoot when you know only one part is bending. This will save time when iterating on your design, and will help you create the perfect snap fit faster.
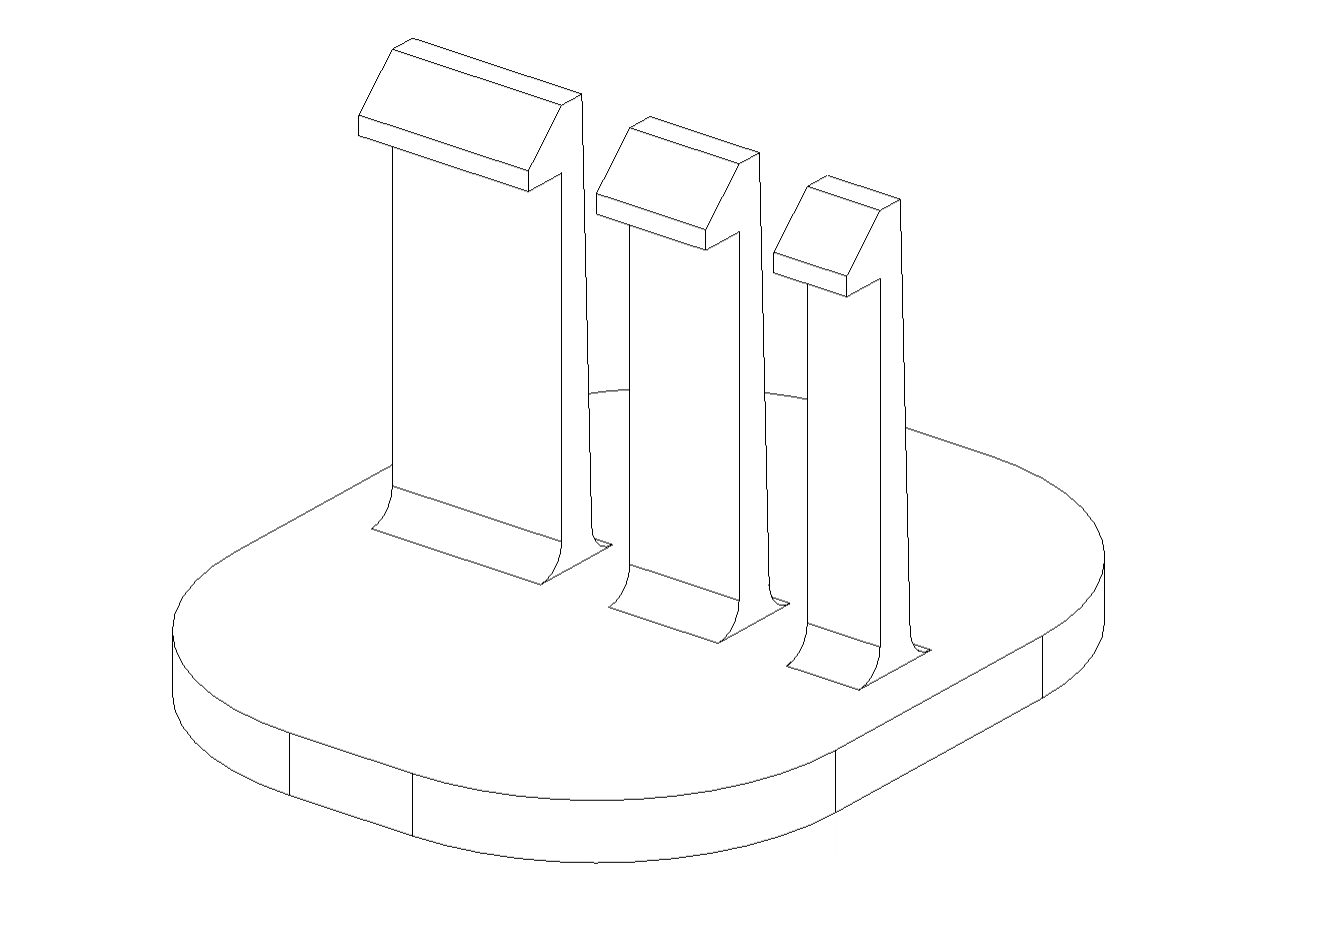
Although the snap fit provides the mating force between components, assembling your product can made easier if you add lugs to the mating parts.
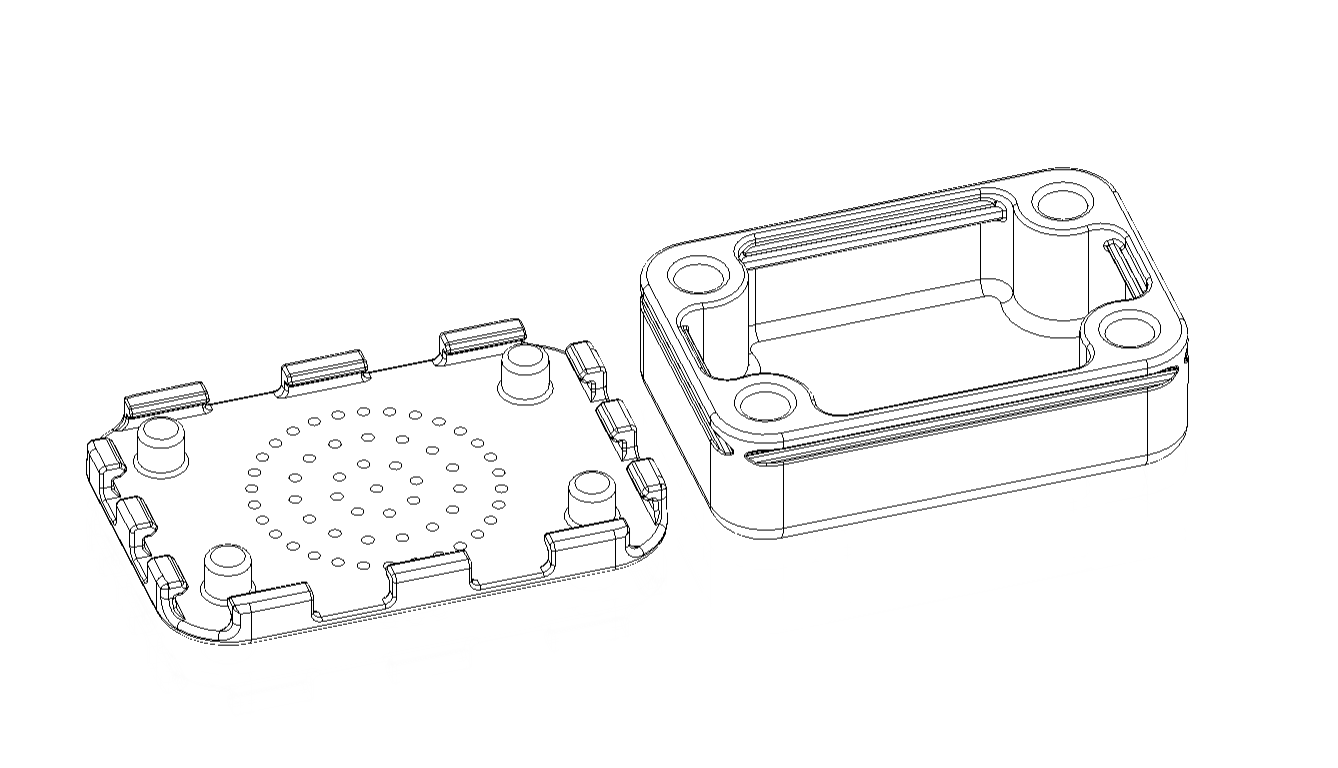
These will help locate the parts relative to one another, and produce a firmer, stronger connection between the two.
As with all 3D printing design, be careful if you scale your components up or down when reusing them on new parts. STL files are easily scalable, and if the shape of the joint works - it is an easy temptation.
It can be very easy to run into issues when doing this however. The force required to deflect materials doesn't vary linearly with component size, and so you will often find a disproportionate difference in the amount of force required to mate the parts - particularly with annular joints.
It can be tempting, when fine tuning the mating force of cantilever snap fit joints, to change multiple things about the shape of the interface with each iteration. This is generally a bad idea however, unless the concept for the design is completely wrong for the application.
Instead, it is better to vary only the cantilever width, rather than the thickness of the beam, in order to get the perfect force. This is because the deflection is proportional to the square on the thickness, but is linear with respect to the width. Varying the width therefore gives you much finer control over the force required.
3D printed parts of most kinds are stronger in the direction parallel to the build plate. This is no different for 3D printed snap fits, and so care should be taken to ensure the forces are applied in that plane only.
It can also be very hard to remove support structures when 3D printing snap fit joints, especially if they are in the joint itself. Take care to orient your part in such a way that no supports are required in or around the interface.
When designing for any 3D printing process that involves heat, such as FDM 3D printing or SLS 3D printing, aim to have a largely consistent wall thickness throughout your part design. This is a familiar requirement for those used to designing for injection moulding also.
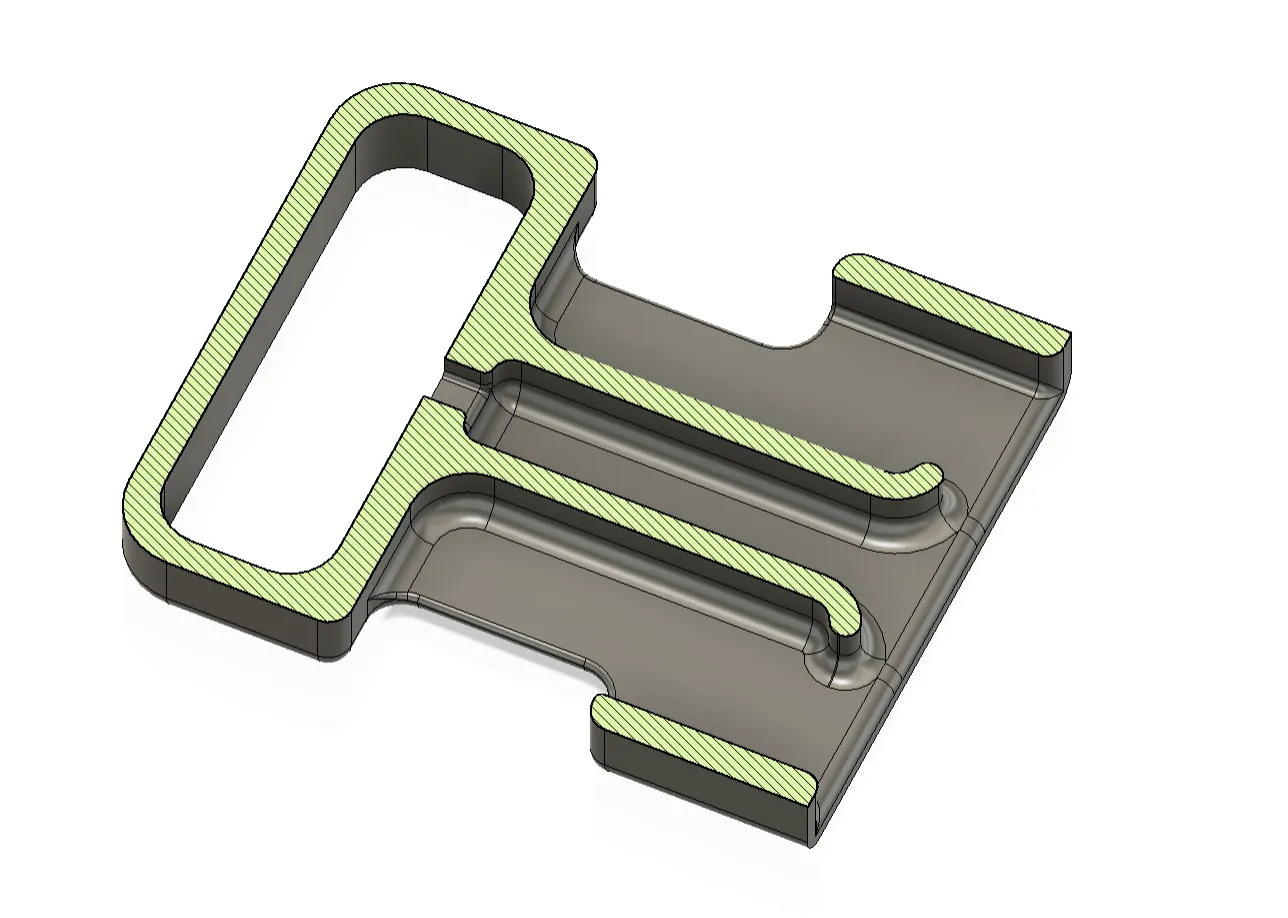
Small thickness inconsistencies are acceptable, and largely unavoidable. To achieve consistent wall thicknesses when filleting edges, ensure that the outer radius is equal to the inner radius plus the intended wall thickness.
Unit 3, Stanley Court
Richard Jones Road,
Witney OX29 0TB
01865 597786
enquiries@printpool.co.uk


© Copyright 2025 Printpool Additive Manufacturing Ltd. All Rights Reserved.
Company number 12732758
VAT number GB354866659


.png)